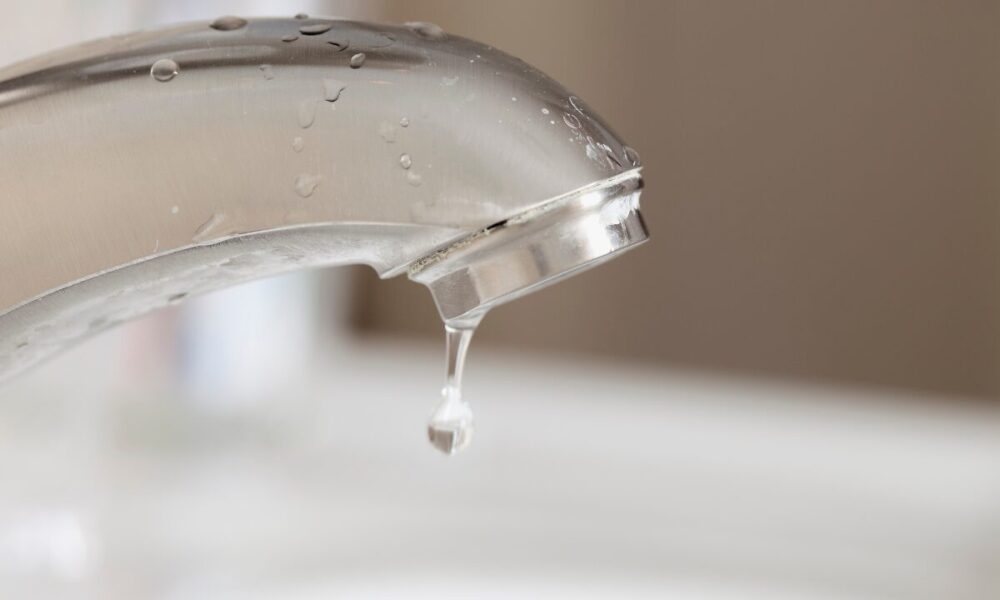
5 Steps to FIX a Leaky Faucet

A leaky faucet can drive you crazy, trust me—I get it. But here’s the deal: it also costs you money. Most people wait until it’s the middle of the night, when the constant drip is unbearable, to call a plumber. That usually means paying emergency plumbing fees, which can be even more of a headache.
But guess what?
You can fix this yourself with just six simple steps.
If things get complicated, professional help from a plumber San Jose or a trusted clogged drain cleaning service can save the day.
Here are the steps to fix a leaky faucet and restore peace to your home.
Required Tools Armory
Before diving in, get your tools together. Here’s what you’ll need:
- Screwdriver
- Adjustable wrench
- Pick tool (for removing washers and springs)
- Rag (to protect surfaces and catch small parts)
- Handle puller (for stubborn handles)
- Seat wrench (for deep repairs)
- Flashlight (to improve visibility under the sink)
- Bucket or towel (to catch any excess water)
Having everything within reach makes the job smoother and quicker.
Step 1: Turn Off the Water Supply
Locate the shut-off valves under the sink. Turn them clockwise to close. Test the faucet by turning it on—if water still drips, you might need to shut off the main water supply. Use a rag to lay your tools on, protecting your countertop.
Plumber Tip: Turn off both hot and cold valves to ensure no water flows during the repair. Open the faucet to release any remaining pressure in the lines.
Step 2: Disassemble the Faucet
Remove decorative caps on the handles using your screwdriver. Unscrew and remove the handle carefully to avoid scratching surfaces. Place small parts on the rag to keep them safe.
Oftentimes, the hardest part is removing the handle. If it’s fused due to mineral deposits, use a handle puller. Position it under the handle, tighten, and pull upward to release. Apply a penetrating lubricant if the handle remains stubborn.
Next, loosen the packing nut with your adjustable wrench. Once loose, remove it to expose the cartridge or stem. If water leaks persist after this, the issue might be deeper within the plumbing system.
Step 3: Inspect and Replace Faulty Parts
Carefully pull out the cartridge. Look for signs of wear, corrosion, or mineral buildup. Check the rubber washers and springs underneath. Use the pick tool to remove them gently without scratching the internal components.
If dealing with an older faucet, inspect the stem unit. This type has a washer at the bottom that seals against a seat. Worn washers often cause leaks. Use a screwdriver to remove the washer, being careful not to strip the screw head. If the washer is indented or damaged, replace it.
Inspect the seat where the washer rests. If it’s pitted or cracked, remove it with a seat wrench. Replace it with a new seat or smooth the surface using emery cloth or a re-seating tool. Always ensure new parts match the original in size and shape.
Bonus Tip: Consider replacing both the hot and cold side components, even if only one is leaking, to ensure balanced wear and prevent future issues.
Step 4: Reassemble the Faucet
Insert the new cartridge or reassemble the stem with a new washer. Ensure parts align correctly. Apply heat-proof grease to O-rings if needed. Tighten the packing nut securely, but don’t overtighten.
Reattach the handle and decorative caps. Turn the water supply back on slowly to avoid sudden pressure surges. Test the faucet to check for leaks.
Step 5: Check for Leaks and Final Adjustments
Inspect all connections. Turn the faucet on and off to ensure smooth operation. If you notice any leaks:
- Double-check the alignment of the cartridge or stem.
- Ensure washers and springs are properly seated.
- Tighten connections slightly more if needed.
Run both hot and cold water to ensure balanced pressure and no hidden leaks. Dry the area thoroughly and monitor for moisture over the next 24 hours.
If the problem persists, consider calling a plumber in San Jose or a professional clogged drain cleaning service for expert help.
Bottom Line
Fixing a leaky faucet doesn’t have to be overwhelming. With basic tools, a bit of patience, and the right approach, you can save money, conserve water, and even gain valuable DIY skills. Not only does repairing a leaky faucet prevent water waste, but it also protects your home from potential water damage and mold growth caused by prolonged leaks.
Regular maintenance is key to avoiding future problems. Periodically checking for signs of corrosion, mineral buildup, or loose parts can help catch issues early before they become costly repairs. Lubricate moving parts, clean out aerators, and monitor water pressure to ensure your faucets remain in optimal condition.
For persistent issues, or if you encounter complex plumbing challenges, reach out to a reliable plumber in San Jose or a trusted clogged drain cleaning service. Professional plumbers not only diagnose and fix problems efficiently but also offer valuable insights to improve your home’s overall plumbing health. Investing in professional help when needed can save time, reduce stress, and extend the lifespan of your plumbing system.


